
How to Edit Your Website Footer (the bottom section of your website)
Your footer is the section at the bottom of your website…
Want to use a font that perfectly matches your brand?
You can upload custom fonts directly inside the builder and use them across your entire website. Here’s how to do it step by step.
Breakdance only supports the following font formats:
.woff.woff2If your font is in another format (like .ttf or .otf) You’ll need to convert it first (don’t worry — it’s easy, we’ll show you below).
👉 You can use any page; the font settings apply site-wide.
Once inside Builder:
This opens your global builder settings.
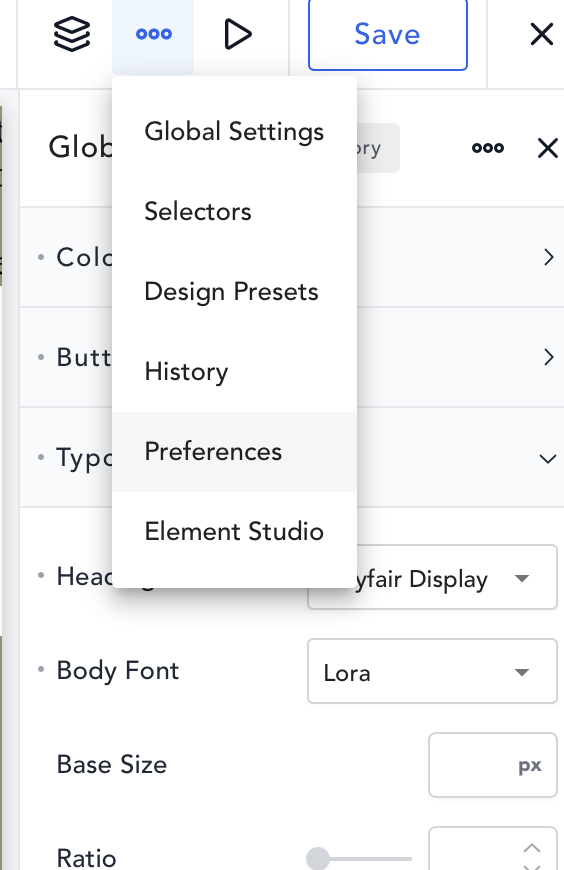
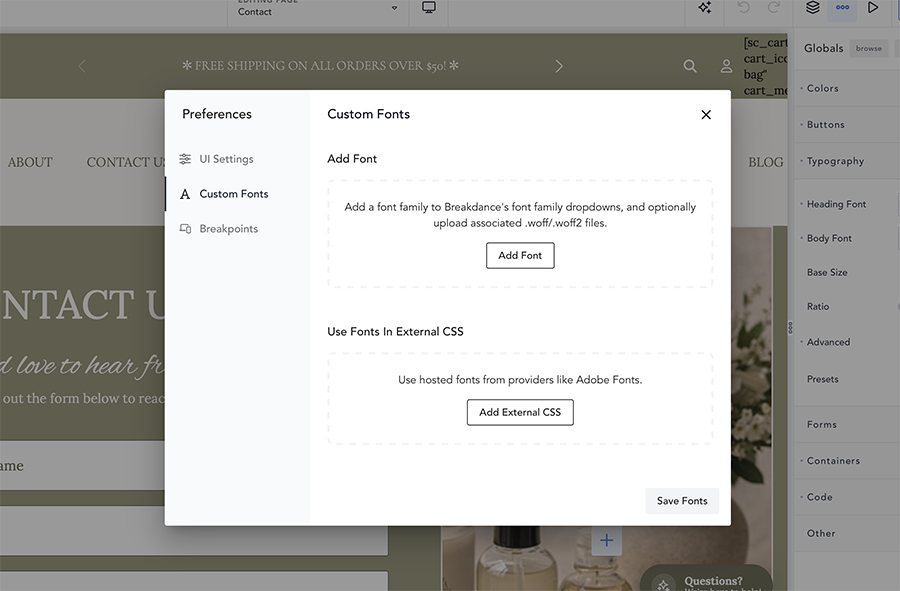
Inside Preferences:
This is where you’ll upload and manage your fonts.
.woff or .woff2 file👉 If your font has multiple styles, upload each one:
This ensures your text displays correctly across your site.
Make sure everything is saved.
Once saved, your font will now appear in your typography settings.
To apply your new font:
Instead of applying your font one by one:
This keeps your entire website consistent and saves time.
If your font isn’t in the correct format, you can convert it in just a few seconds.
.ttf, .otf, etc.)WOFF or WOFF2Now you’re ready to upload it to the builder.
To keep your site looking clean and fast:
.woff2 when possible (smaller file size = faster site)Make sure:
.woff or .woff2 formatYou may be missing a font weight (like bold or italic).
Too many font files can slow things down. Try reducing variations.
If you get stuck, reach out to Create A Shoppe support. We’re happy to help.